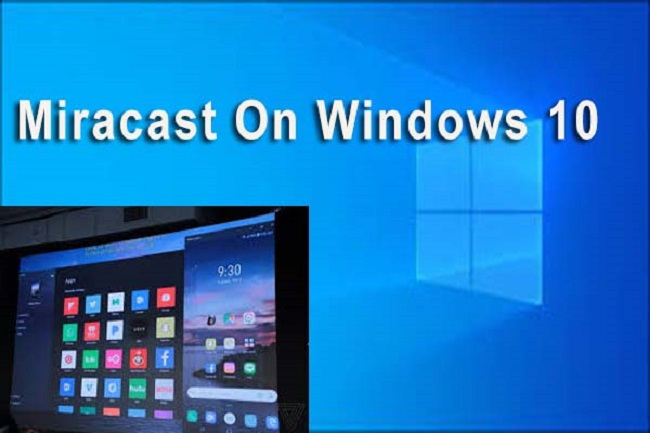
Is there a way to watch your favourite movies on your LCD screen without having to download them to your computer or phone? Since the Wi-Fi Alliance introduced Miracast a few years ago, it is now possible to stream content wirelessly.
It’s possible to stream video from a computer to another device, such as a TV or a PC, using Miracast technology. The term “HDMI over Wi-Fi” is also used. In this article, we’ll go through how to set up Miracast on Windows 10 and how to troubleshoot any issues that may arise.

Who or What is Miracast?
Using Miracast, you may stream content wirelessly. A TV, monitor, or projector can be used in place of a PC, laptop, tablet, or smartphone using this cable. Windows 8.1 was the first to feature it, and it’s now standard on nearly all devices and platforms.
You don’t need a cable to cast your PC or laptop’s screen to a TV or projector when using Miracast. For in-house use, 1080p HD videos and 5.1 surround sound can be transmitted in this manner.
How Do You Know If Your Device Supports Miracast or Not?
There are many Miracast-enabled devices out there. Ensure that your device is compatible with it. To get started, simply follow these simple steps:
Step 1: Press Windows key + R to open the Run dialogue box. Type “dxdialog” and press Enter. Select the “Save all information” option and save the file in a location of your choosing.
Step 2: Open dxdiag.txt and see if Miracast is working properly. “Available” will appear next to it if it does.
Using Miracast Windows 10
Setup Miracast to use it if it’s supported by your device. Here are the steps you need to take:
Step 1: The first step is to turn on your television or other display device. Connect a display adapter to its HDMI port if it doesn’t have Miracast capability built-in.
Step 2: Next, open the Settings menu on your PC. Select the Devices option in Settings. Select “Add Bluetooth or other devices” in the Devices section. Then choose your TV (or the adapter, if your TV doesn’t have in-built Miracast compatibility) from the list of devices.
Step 3: Pressing Windows + P and picking one of the available options will help you configure your PC and TV.
Consequently, Miracast is used to link your display devices to the computer.
Windows 10 Doesn’t Support Miracast
When trying to utilise Miracast on Windows 10, you may encounter an issue. The video on the receiving device may have no sound or display a “not supported” message. An out-of-date driver or an unsuitable adapter could be to blame. If this is the case, consider the following options:
1. Install the Latest Drivers
It’s possible that out-of-date drivers are causing the issue. Check the display and wifi drivers in the Device Manager (Windows + X, then Device Manager) of your machine. Use a Driver Update Utility Program if you don’t already have the latest drivers installed on your computer (install them from online).
2. A New Adapter
There are a wide variety of display adapters available, but not all of them will work with your device or operating system. Use a different power adaptor if you have one lying around. Microsoft’s Wireless Display Adapter is your best bet here.


