When a user is connected to the internet but unable to use it, it is one of the most frustrating experiences imaginable. As a result, it becomes difficult and time-consuming to carry out your duties. A yellow triangle and the phrase “No Internet, Secured” will appear if this occurs.
It’s possible that there are many reasons for this, but the most common one is a problem with your Internet Protocol (IP) address. The corrupt files that were installed when the operating system was updated are to blame for this.
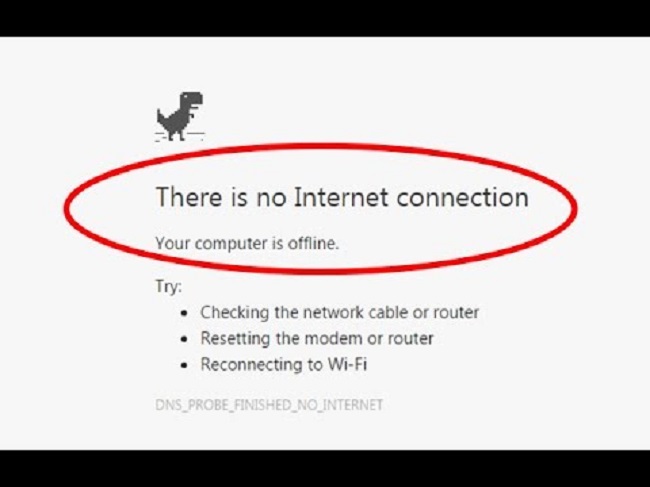
How To Fix No Internet Secured In Windows 10
To fix this problem, in this article we shall be talking about many approaches to fix No Internet Secured error. Decide which one works best for you, and only you can do that. You may need to try more than one remedy if you get a “No Internet Secured” error message.
Solution 1: Update Network Adapter:
Your computer may be unable to connect to the internet if it has an outdated driver.
- First of all, hit Windows + R, after the run dialogue box, opens type “devmgmt.msc”. In order to open the device manager, simply press the Enter key on your keyboard.
- The next step is to open the network adapters pane. Update your network adapter’s driver software by right-clicking on it and selecting “update driver software.”
- Next, click on Update Driver, then select Search Automatically, and Windows will search for the most recent version of the driver software on your computer.
- Go to the network and sharing centre once you’ve finished these steps. Then, right-click on the network symbol in the notification area and select the open network and sharing centre from the menu that appears.
- Then, go to the adapter settings and click on it.
- Right-click on the wireless network and select Properties from the shortcut menu.
- On the next screen, click OK to turn off Internet Protocol 6 (TCP/IP Version 6).
- Finally, close this window and reboot your computer.
Solution 2: Uninstalling Your Network Adapter:
It may help if that doesn’t fix the problem.
- Open Device Manager and double-click on network adapters to access the adapters.
- Secondly, look for the network adapter you use to access the internet, right-click, and uninstall it.
- When you’re finished, click on the action menu item in the upper right corner of the screen and select Scan for Hardware Changes. Windows will now automatically search for and install the missing network adapter.
- Restart your computer once the installation process has been completed.
Solution 3: Alter The WiFi Settings:
To make these changes, follow the steps outlined in the following section.
- Start by pressing Windows+R on your keyboard. When the run window appears, type “ncpa.cpl” and press OK. Please check your screen for a network connection notification. Turn off your internet connection and disconnect from the internet.
- Right-click on your WiFi connection. The properties you want to see are listed here.
- Select the following options in the dialogue box that appears. Microsoft network client Microsoft network file and printer sharing Internet Protocol version 4, or TCP/IPv4 Internet Protocol version 6, or TCP/IPv6 Link-layer topology discovery responder I/O driver.
- Locate the offending WiFi network by clicking on the network icon.
- Disconnect any Ethernet cables that may be attached to your PC.
- The router must be restarted in order to complete this step.
- Finally, after the router has been turned on, you can attempt connecting to your WiFi network by disabling aeroplane mode.
Solution 4: Disabling WiFi Sharing:
There are situations when a conflict between the router driver and the wireless driver occurs.
- Simply right-click the network you’re using in the network adapters and select properties.
- To move on to the next step, select the sharing option from the left-hand menu. Remove the “Microsoft network adapter multiplexor protocol” and any other WiFi sharing-related items.
If you’re curious about which objects are connected to WiFi sharing, click on each one and you’ll be taken to its description. This means that the things marked as such should be unchecked. - Finally, try reconnecting after closing the window.
solution 5: Changing The TCP/IP Properties:
The TCP/IP option can be changed if the problem persists and you are using Windows 10 Creators Update or Fall Creators Update.
- Using the Windows + R key, type “R.” Type “ncpa.cpl” into the command line and press Enter.
- In the next step, you’ll see a list of your network connections.
- Finally, right-click on your WiFi network to connect. The properties you want to see are listed here. Version 4 of the Internet Protocol is the one to go with.
- Select Obtain an IP address automatically and Obtain a DNS server automatically from the list of possibilities.
- Click on “advanced.” Bottom right of dialogue box has this option. The “WNS” tab is where you need to go.
- Next, look for a setting titled “Enable NetBIOS over TCP/IP” under the Networking section. All dialogue boxes should be clicked on.
- Open your network adapter again after waiting a few moments after closing all open windows. Now that IPv4 connectivity has been established, you should be able to browse the internet and visit websites.
Solution 6: Verify The Properties Of The Power Management System:
Power management settings could be be to blame for this problem. No Internet Secured is a widespread issue in the Windows Creators or Fall Creators update.
- Press Windows + X to get started.
- In the device management, look for the network adapters.
- Make a note of where you are in relation to your wireless network’s power management. Remove the “Allow the computer to turn off this device to save power” checkbox from the list of available options.
- Finally, restart your computer and see if you can connect to the internet again.
Continue reading this if you’re interested
The Destination File System Cannot Handle the Size of the File.
This Network’s Proxy Settings Could Not Be Discovered by Windows.
There is no sound on YouTube or Discord.
No one enjoys being unable to access the internet because of the “No Internet Secured” problem. To assist you tackle this problem, we’ve covered all of the important elements in this post.
We hope that these fixes will resolve the problem of No Internet Security. Contact us if you can’t seem to resolve your issue; we’ll do our best to find a solution for you.


